Looking at taking your your filming skills to the next level? Well Ashleigh Jadee has got you covered! Watch this video on advanced filmmaking and put her top tips into practice!
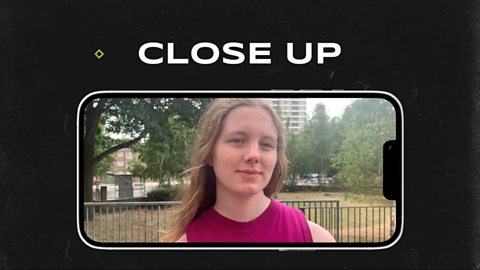
Step 1 (00:22) ÔÇô Vary the framing and shot sizes in your filming.
Using different frame sizes and angles can help with your storytelling. For example, an Extreme Wide Shot can make your subject look lost in their environment and a Low Angle Shot makes someone look more dominant in the frame.


Step 2 (00:55) ÔÇô Stabilise your camera.
Using a gorilla pod, monopod or tripod will help you frame your shot and keep it steady. Cheap versions of these can be found online for use with your phone or camera.


Step 3 (01:08) ÔÇô Introduce artificial lighting.
By using an artificial light on your subject, you can make them stand out from the background by adding highlights and shaded areas. Positioning your light at around 45 degrees left or right of your camera will give you the most natural results. Adding a diffuser sheet or filter to your light will help soften the shadows cast on your subjects face.


Step 4 (01:39) ÔÇô Use a plug-in or lapel microphone.
Having a microphone clipped onto your subject or one pointing in their direction, will help increase your audio quality. Make sure you keep an eye on your audio levels when recording, as loud sounds could peak and become distorted. You can also record extra sound effects on set, to add in when editing.

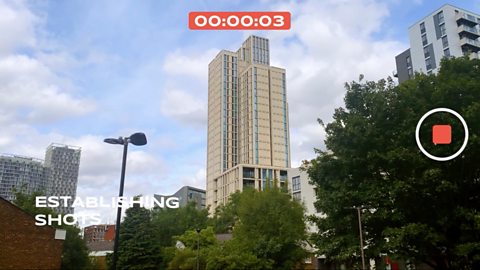
Step 5 (02:15) ÔÇô Film B roll footage to help you in the edit.
Transition shots such as whip pans, establishing shots and slow motion footage are all extra shots known as B roll. Establishing shots are shots of your location used to tell your audience where you are. ItÔÇÖs always better to film too much B roll than too little and remember to mix up the frame sizes of your shots too.


Step 6 (03:01) ÔÇô Back up your footage.
Make sure you donÔÇÖt lose all that hard work and back up your footage twice. You can do this by copying and pasting all of your files onto your computer, external hard drive or cloud service.

