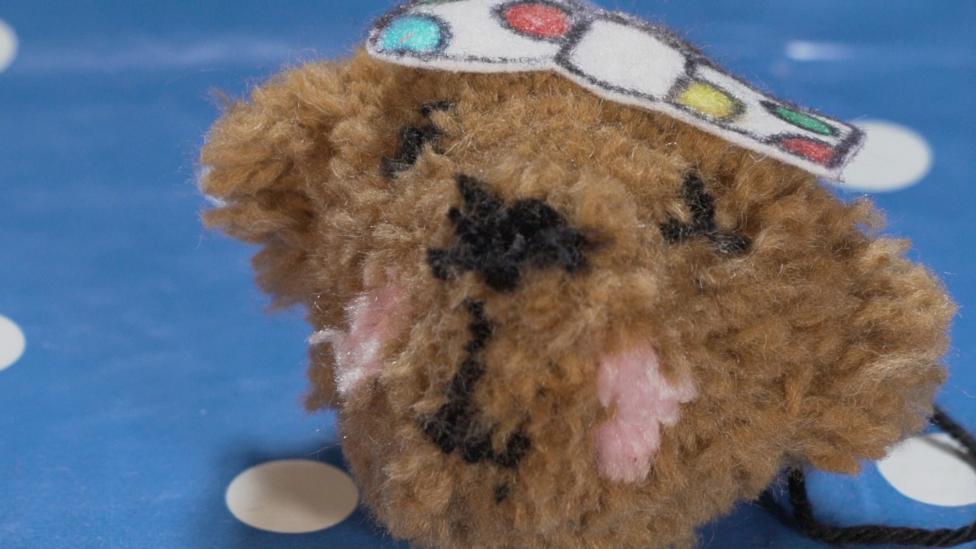
Make a Pom Pom Pudsey and Blush
Vintage make alert! Follow some simple instructions to make your very own Pom Pom Pudsey or Blush. Don't forget to download and print the template below!
You will need
- Wool (yellow and black for Pudsey or brown, black and pink for Blush)
- Cardboard
- Scissors
- White felt
- Coloured pens
Instructions
1. Download the template above
2.聽Use the template to cut 2 rings out of a piece of cardboard. (If you can't print out the template, the rings should be 6cm (7cm) in diameter with a hole in the center with a diameter of 2.5cm (3cm). Cut a slit on one end of the ring.
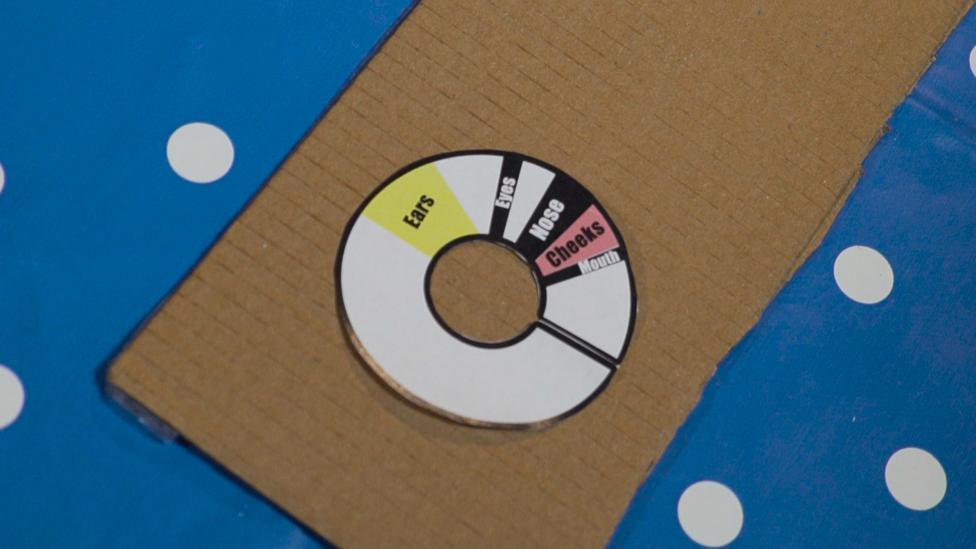
3. Hold the 2 rings together with the slit at the bottom.
4. Halfway up one side of the ring wrap a length of black wool around the 2 rings about 12 times and tie it off. This will be the nose the area that needs to be covered聽is marked on your template, so use it as a guide.聽
5. For the mouth wrap the second length of black wool around the rings halfway between the nose and the slit at the bottom (as shown on the template). Wrap about 8 times and ensure that the threads of wool are layered on top of one another to create a thin line, then tie it off.聽
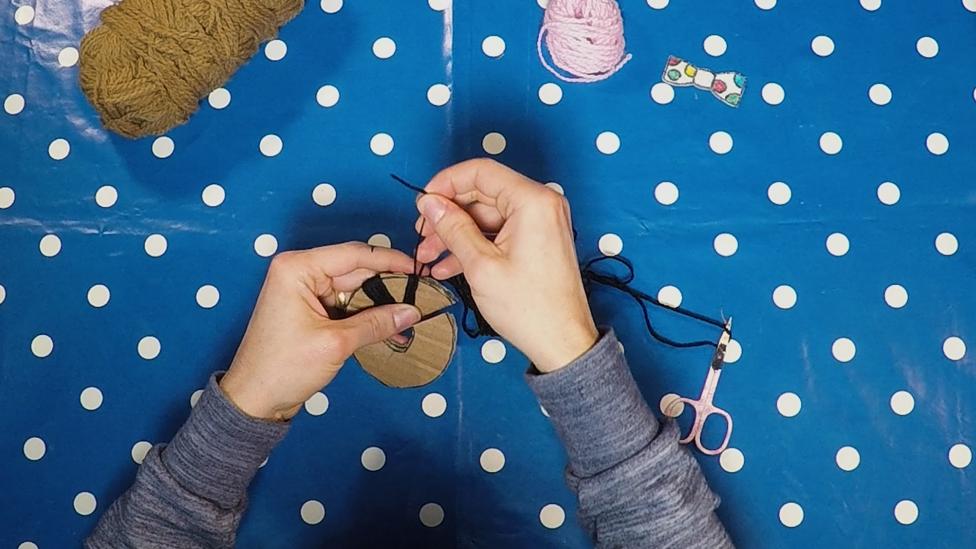
6. Cover the rings in several layers of brown (Blush) or yellow (Pudsey) wool. Ensure the wool is even and all of the black wool is covered. Avoid wrapping wool too close to the bottom slit聽as it may slide off. Tie it off.
7.聽Two-thirds of the way up on the same side as the nose and mouth wrap the black wool about 6 times around the rings in a thin line. Tie it off for the eyes.
8. Cheeks. SKIP TO STEP 8 IF YOU ARE CREATING PUDSEY. Halfway between the eyes and bottom slit wrap pink wool around the rings about 12 times. Tie it off.
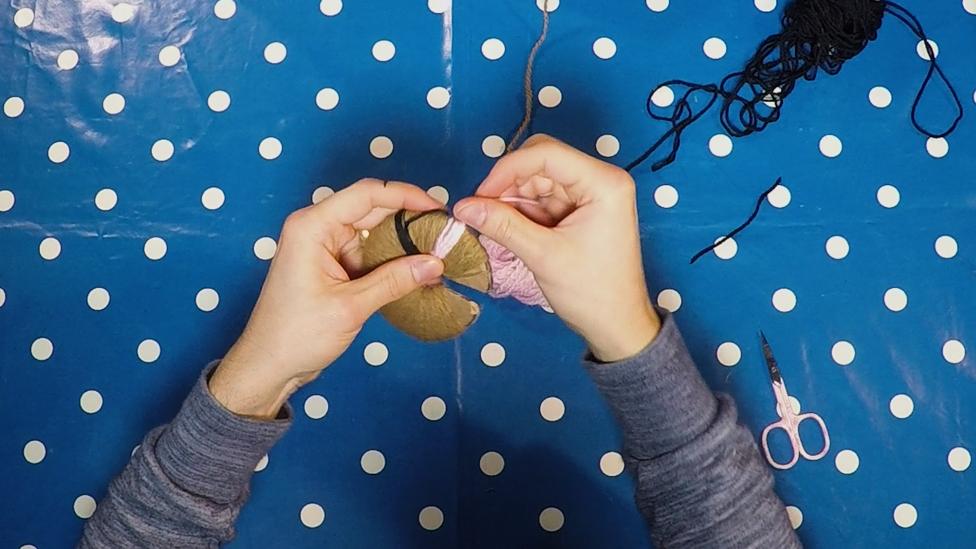
9. Cover the rings in several more layers of brown (Blush) or yellow (Pudsey) wool. Ensure the wool is even and all black wool is covered. Avoid wrapping wool too close to the bottom slit as it may slide off. Tie it off.
10. For the ears, you will need to place your index finger at the top of the rings. Wrap 30 layers of brown wool around the rings and your finger. Avoid pulling this too tight so that you can still remove your finger at the end, then tie it off.
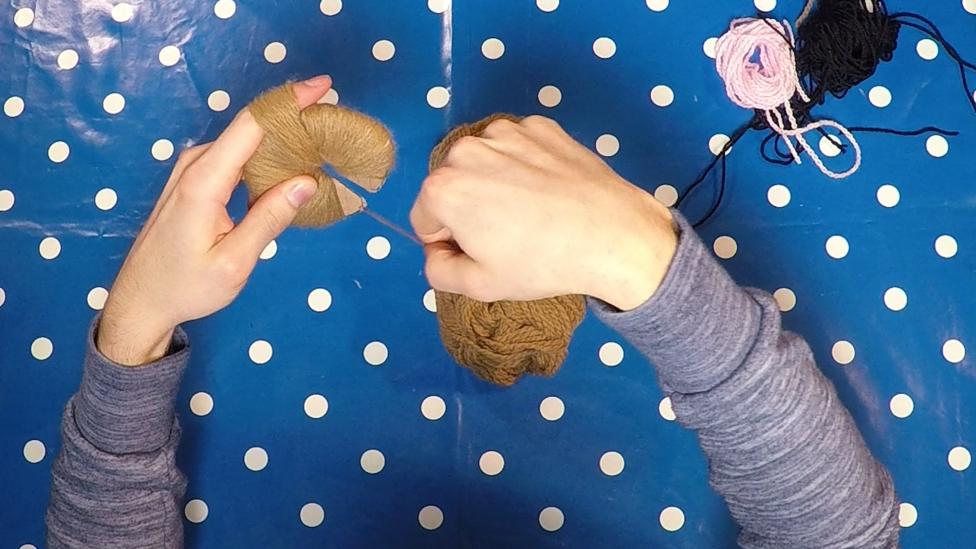
11. Place a piece of tape across the slit on each ring. Pinch this area as you do step 11.
12. Grab a grown-up and cut the wool along the end of the rings. Blush or Pudsey鈥檚 face should start to appear. Cut the wool all the way around the rings. DO NOT LET GO OF THE RINGS AS THE WOOL WILL FALL OUT.
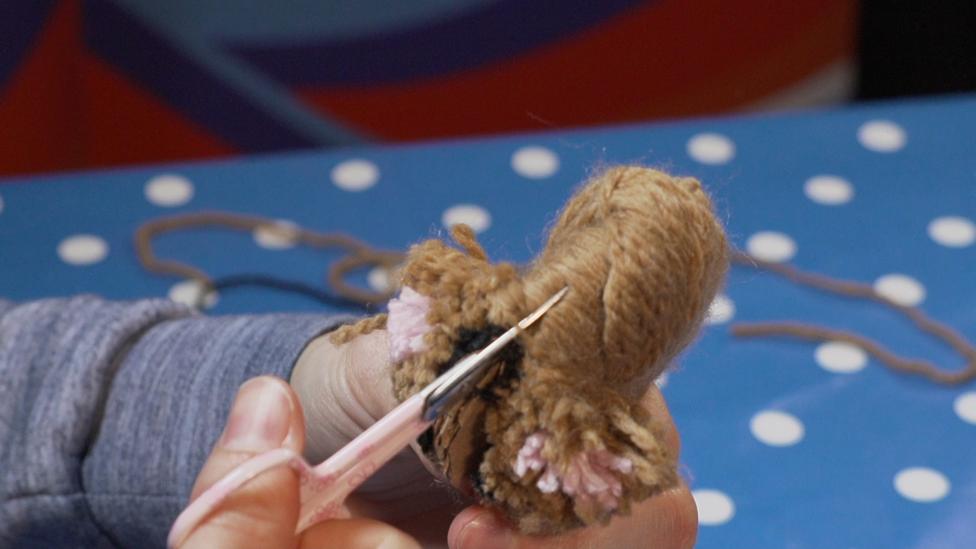
13. Run a length of brown (Blush) or yellow (Pudsey) string between the 2 rings. Tie the ends together with a tight knot.
14. To add a loop to your Blush or Pudsey pom pom, tie a length of black wool into a loop. Attach it to the pom pom using the lengths of wool used in STEP 12.
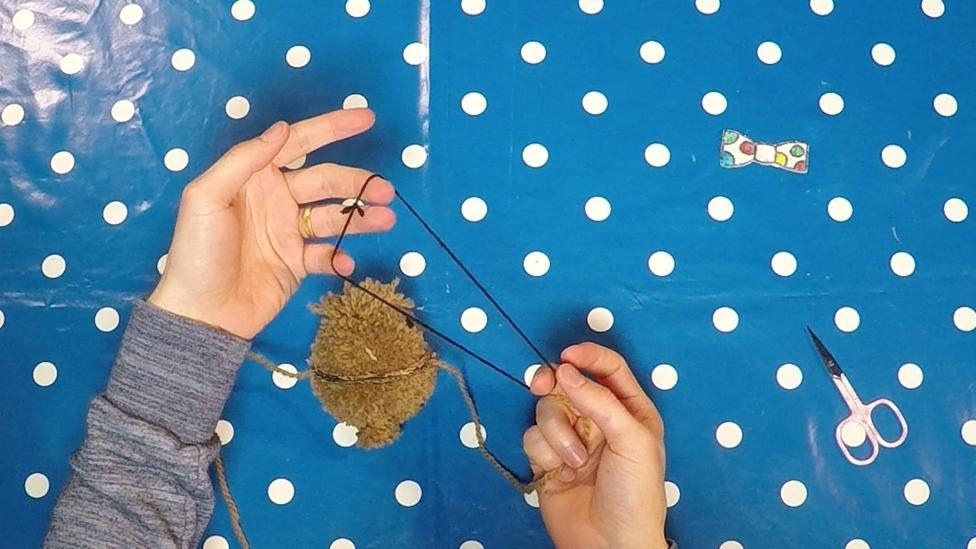
15. Remove the cardboard rings.
16. Using scissors trim off any wool that sticks out.
17. Trim the ears down to the right size.
18. Shape your bear鈥檚 face by trimming the wool with scissors. Focus on the area around the snout. Take your time and don鈥檛 be scared to trim too much. You can shape further by pushing the wool into the right places with your fingers.
19. Finish off your Blush or Pudsey by sticking on a felt bow for Blush or felt eye patch for Pudsey. Decorate with felt tip pens.
